Written and photographed by Ryan McKee at McTech Dental Lab in Billings Montana
This is just part one, read the rest on our blog “Collaborating Through Dental Photography” by clicking here.
Special Thank you to Becky Cotant of Cotant Family Dentistry for her patience and grace in agreeing to model for this walkthrough.
Photography is a powerful tool to help overcome the problematic nature of restorative dentistry. To facilitate it’s use, I made it one of my mission to master this skill when I first arrived at McTech from college. Years later and I have authored this entire walkthrough and taken almost all photos myself. If you are a restorative team member of ours, such as a doctor, assistant, or other staff member, I am at your disposal to answer any questions you may have. If you would like to partner together on documenting a case please contact me, I am very interested!
The following will show you how I take the professional grade photography that is suitable for our purposes as a lab. Part of the goal of this walkthrough is to inform about basic photography fundamentals, and to lay the groundwork for a pursuit of composition. These photos require team effort, dedicated photography equipment, and yes there is a learning curve that requires practice to over overcome.
IMPORTANT!! This guide is not intended to be an all encompassing breakdown of dental photography. This is foremost a guide to how you can take the same kind of photos I do. The plan is to build from here as I learn more and more. What I’ve published here so far is just the basics. Do not let the complexity of this guide deter you from sending us or any other lab less than perfect photos. So… with that out of the way….
The Checklist
Check out the resources page on our website to download “A Letter to the Patient Regarding Dental Photography, from McTech Dental Lab” if you would like to prepare a patient for portfolio level photography, or click here. Numbered Photos are a reference for our case checklist, which can also be found on our website or by clicking here.
Portrait Shots
Equipment and Settings Used for These Shots
Camera - Canon EOS 77D ISO: 100 ; Aperture: f/11 ; Shutter Speed: 1/60 sec
Flash - Canon Speedlite 600EX, 1/1 (Full Blast) Manual, Fog defuser, tilted at 45º, fresh batteries
Macro lens – EF 100mm USM
Photographic Reflector in front of the patient, held at chest level, slightly tilted toward light source
Keep teeth hydrated! Take breaks, do what it takes but do not let the teeth dry out. Dry teeth have a completely different color and surface and texture details are lost, distorted, or exaggerated.
Grey Card - Place the grey card in the frame at the same distance as the teeth. Having a sterilized grey card touching the teeth is the best way to accomplish this. Be sure there is no glare present on the grey card See our blog for detailed instructions or click here.
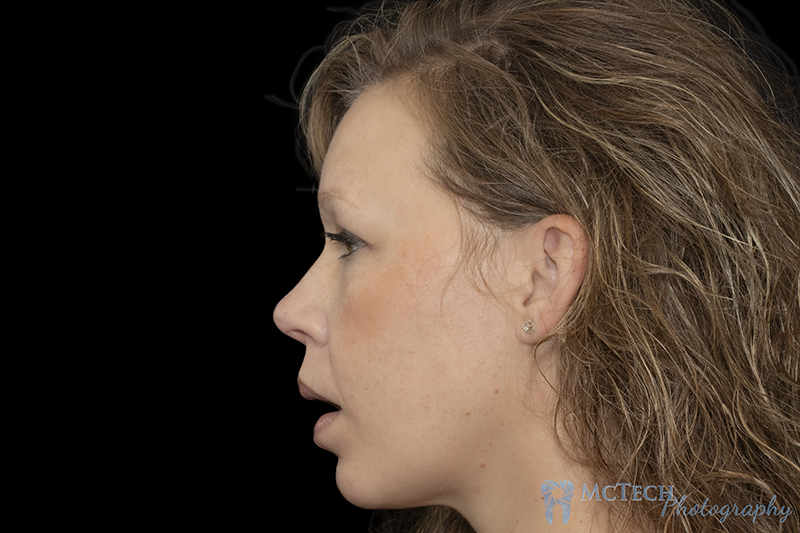
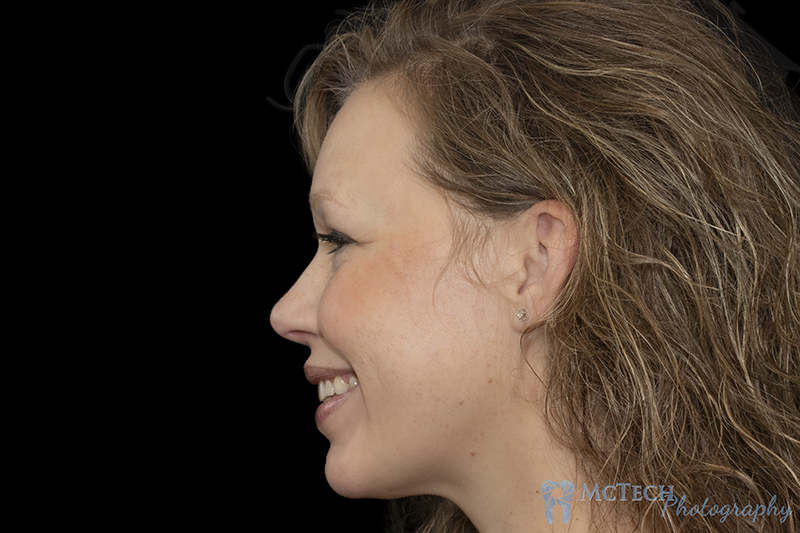
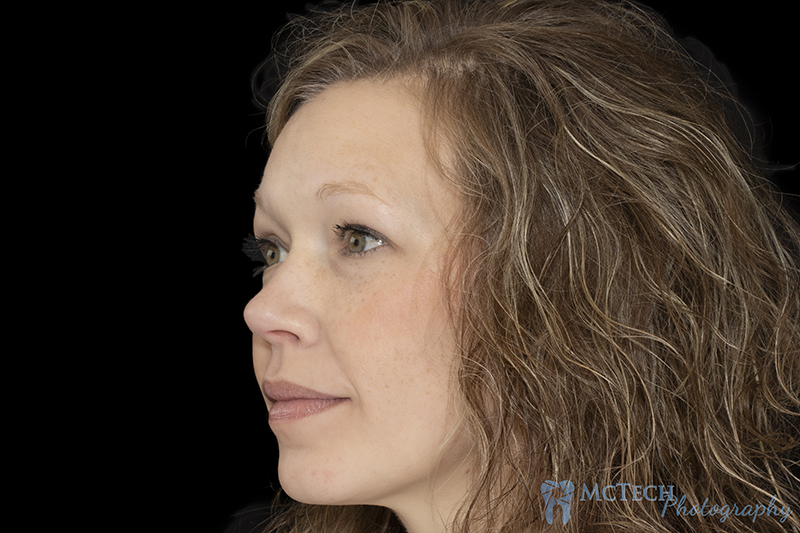
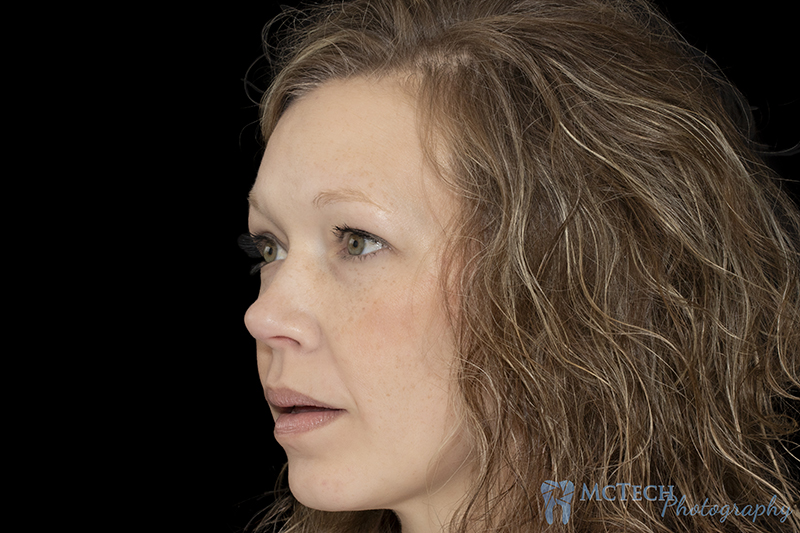
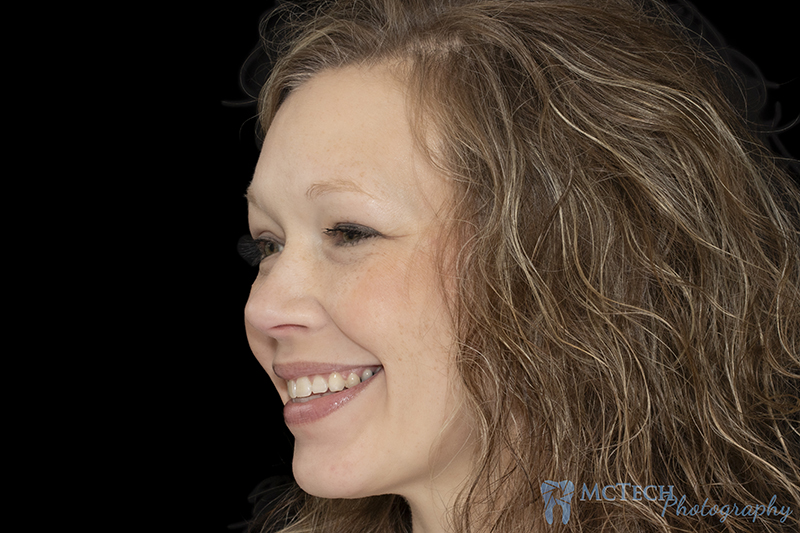
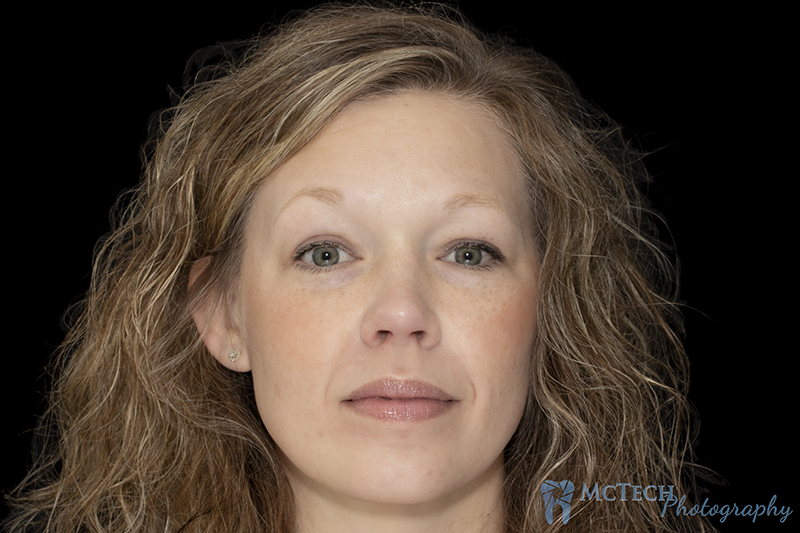
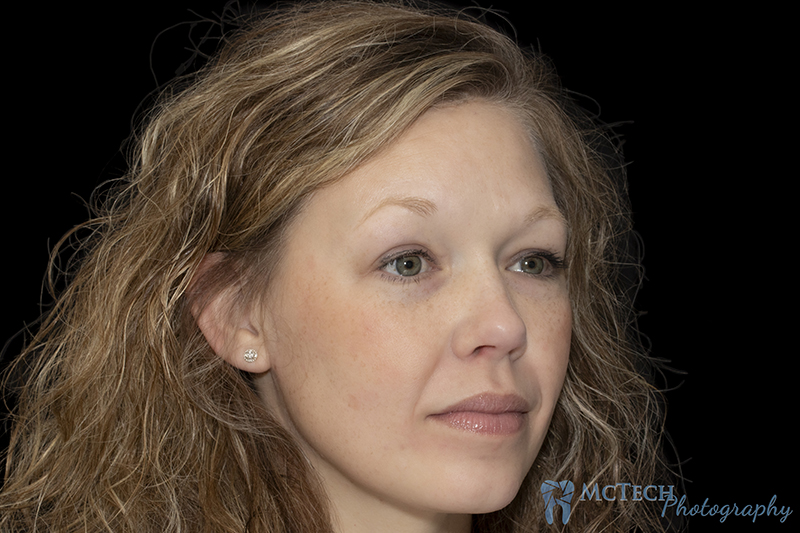
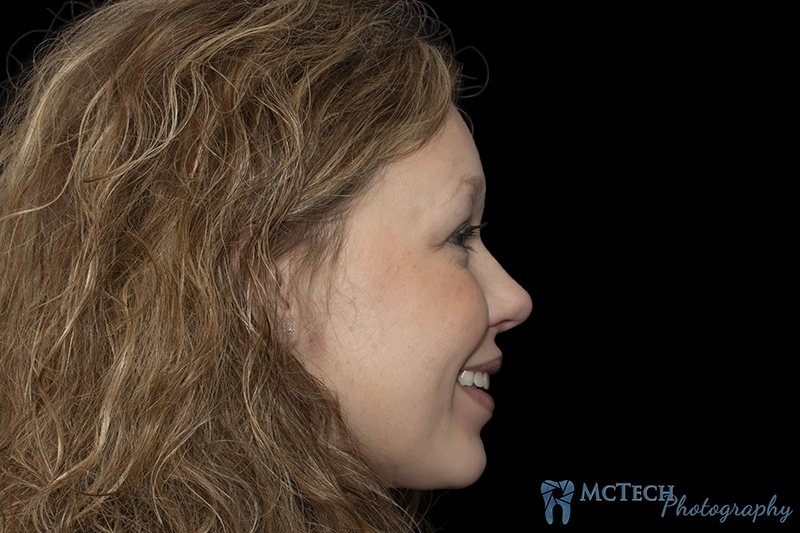
The image should be taken directly in front of and level with the patient. Avoid inferior or superior angulation.
Capture the whole face from the top of the head to the top of the neck.
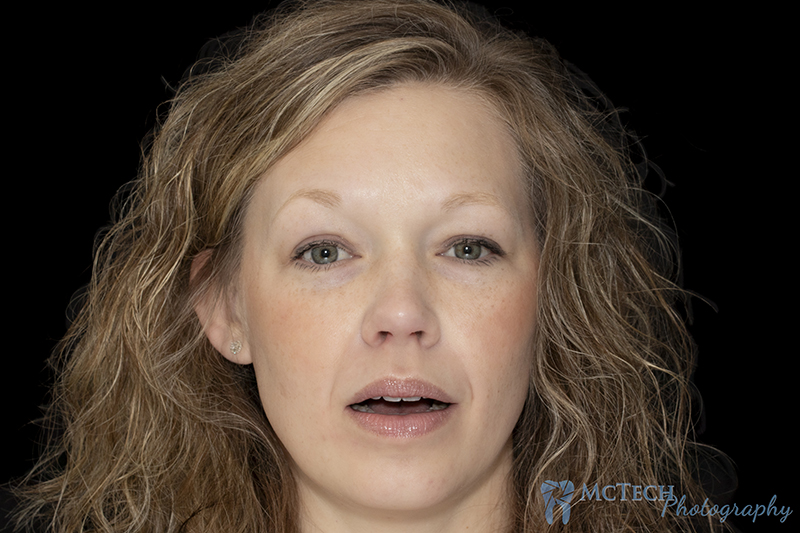
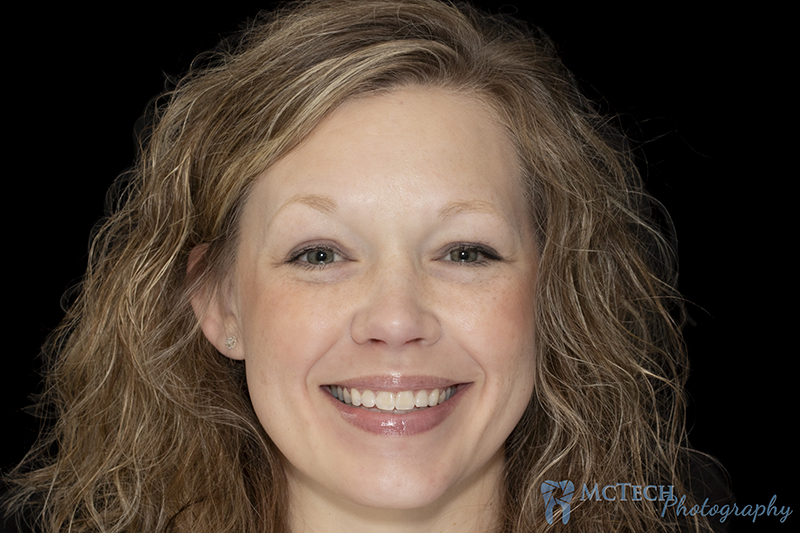
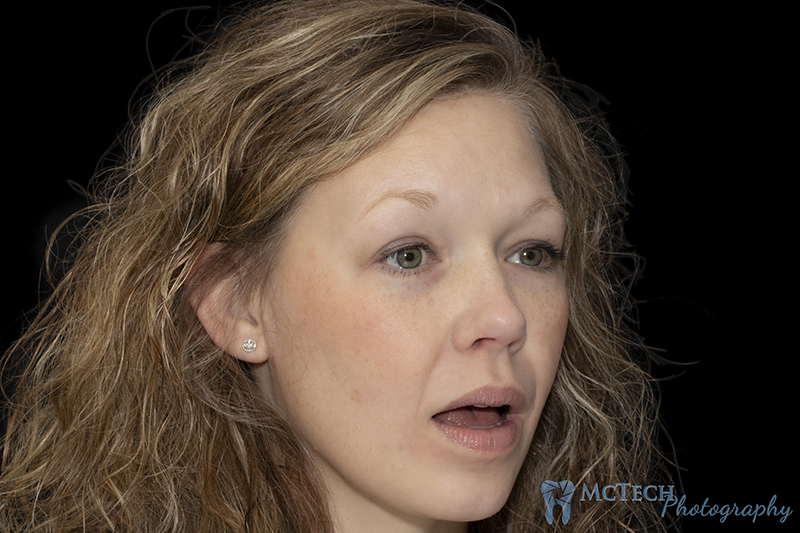
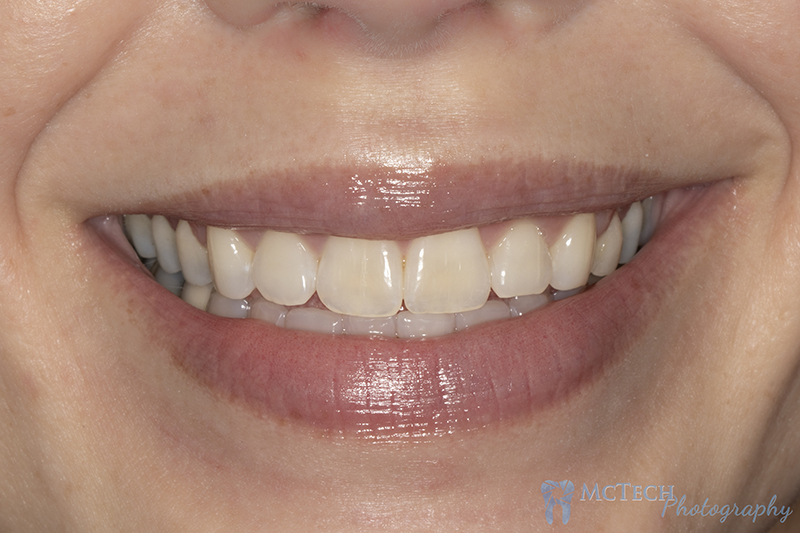
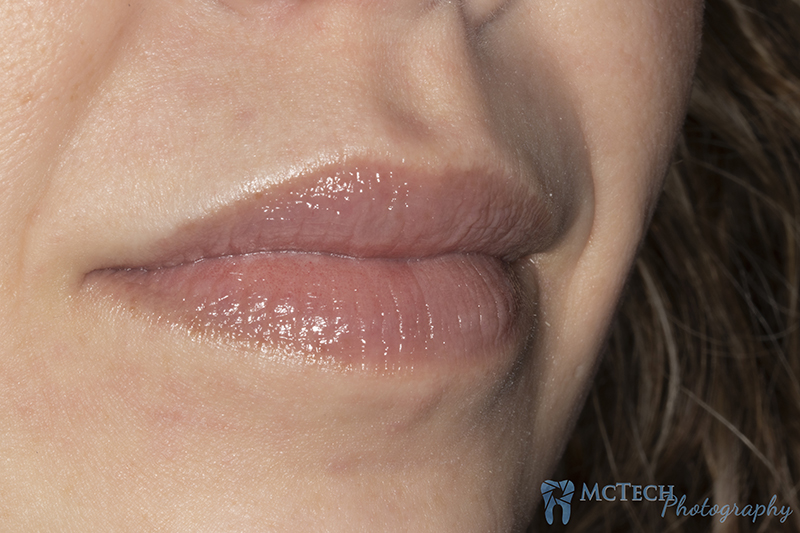
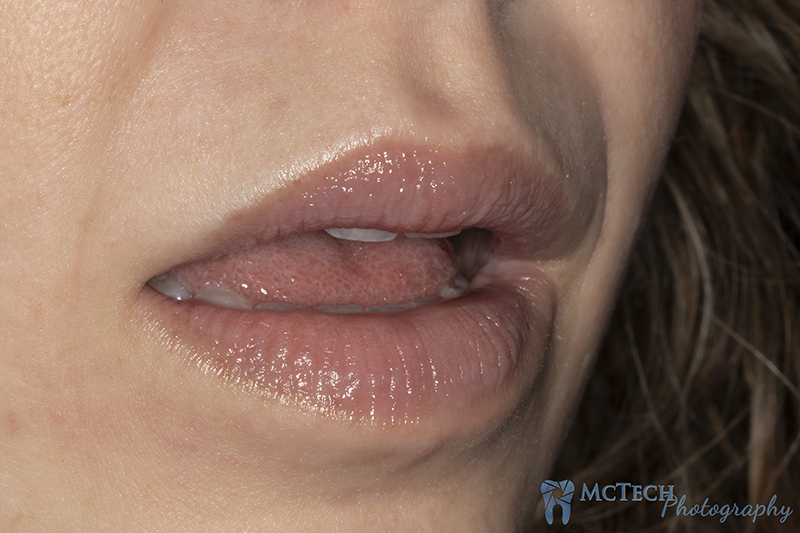
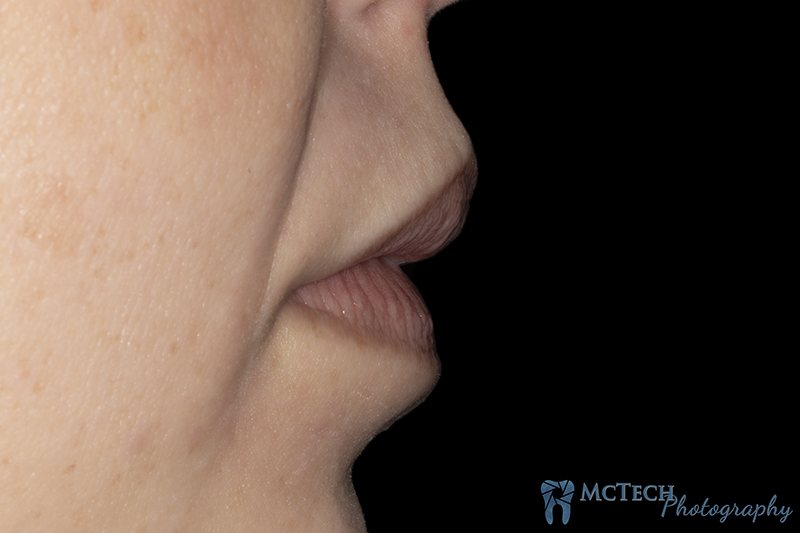
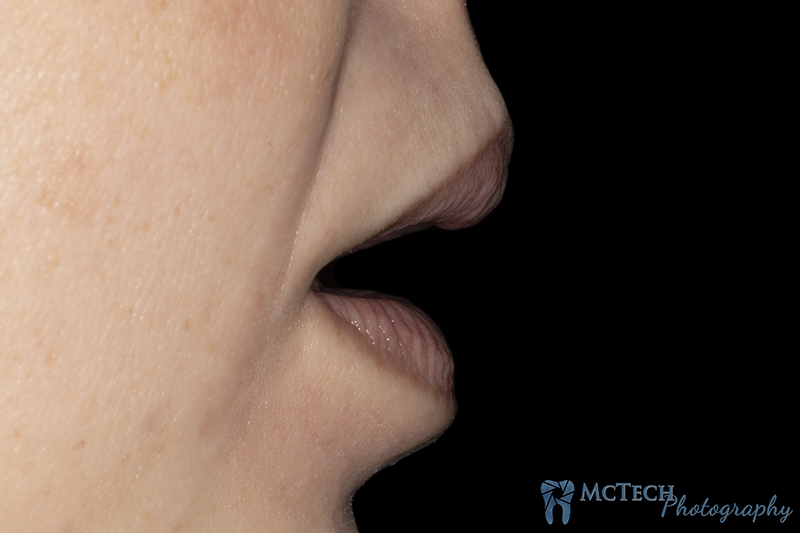
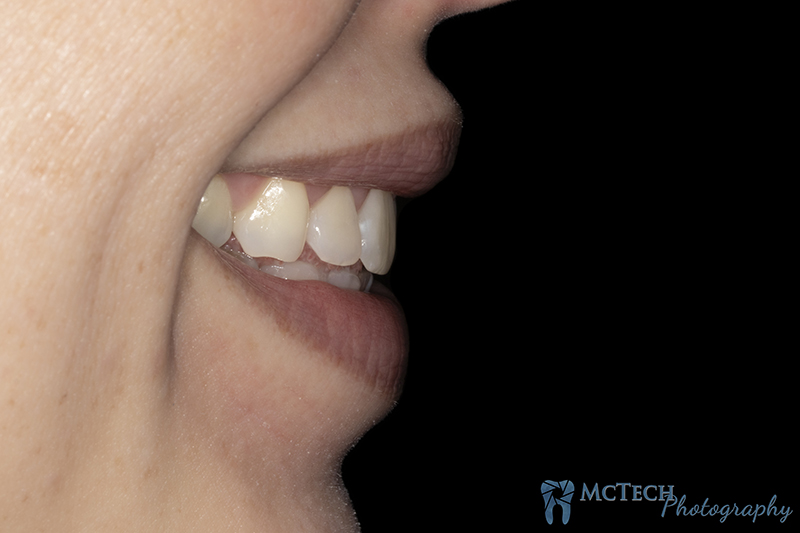
For all angles. 3 shots are taken. One with no smile and no teeth, one in repose (mouth at rest and open with teeth apart), and one with the patients largest toothiest smile.
Instructions to the Patient
Have the patient clean their teeth (brushing and flossing) and instruct them to avoid hard flossing or brushing that would inflame the tissue. Before every shot, eliminate debris and distractions such as excessive saliva, plaque, calculus, blood, food debris, makeup, glove powder, and lipstick on teeth, etc.
Instruct patient to avoid tilting their head back when smiling or opening their mouth, this is a natural mechanic of the body. Ask the patient to sit straight up with good posture- this will have the added effect of producing a more genuine and realistic smile, while keeping their chin off their chest and thus tilting their head.
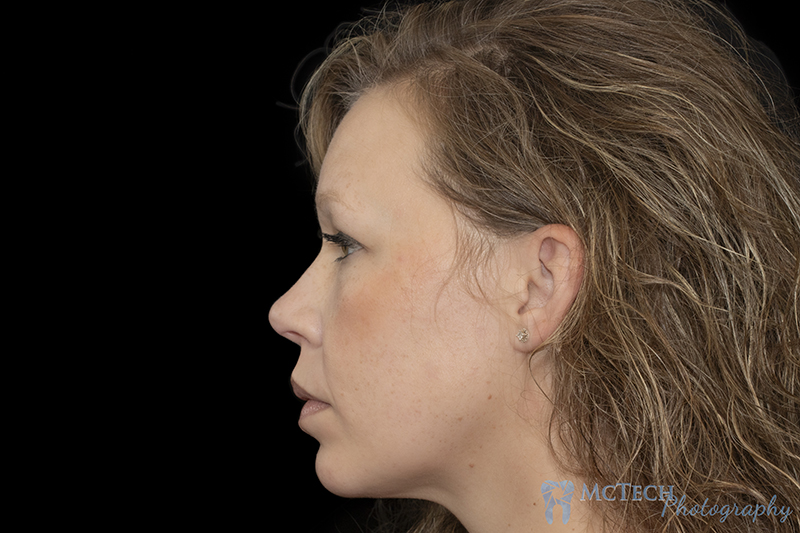
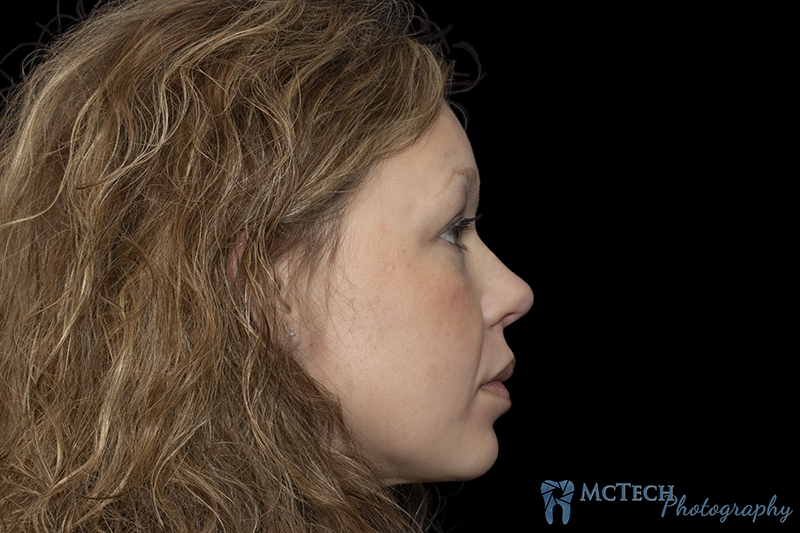
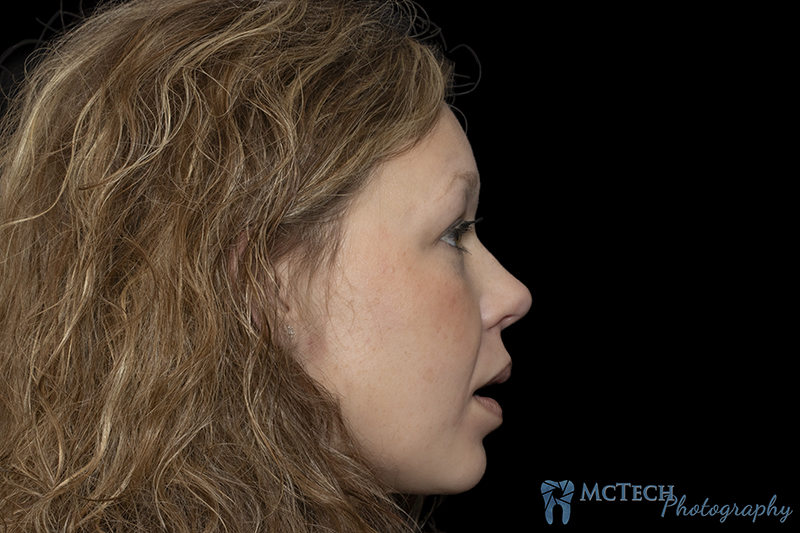
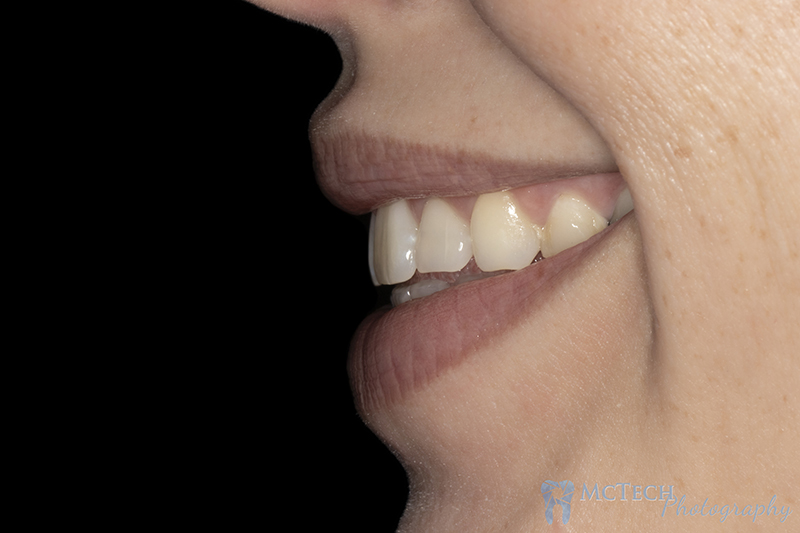
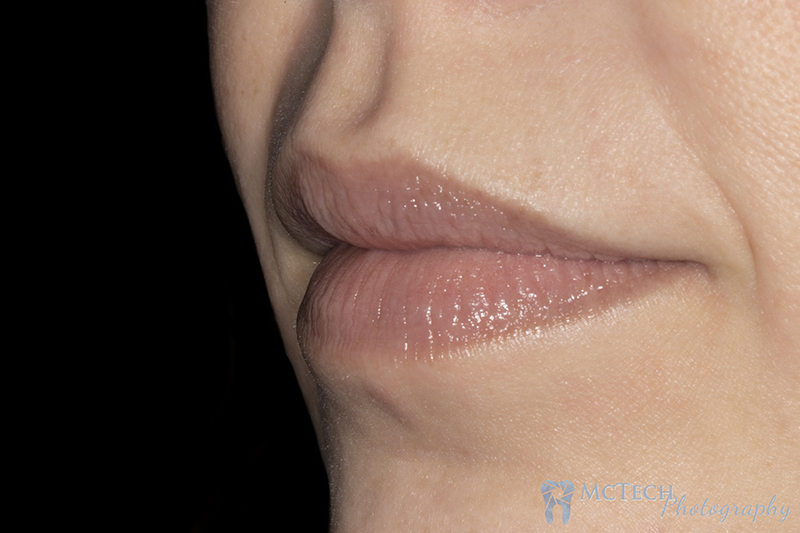
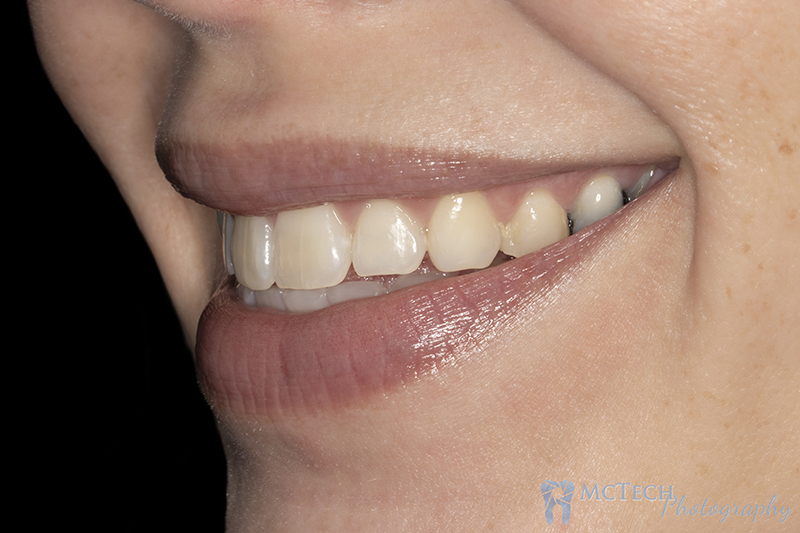
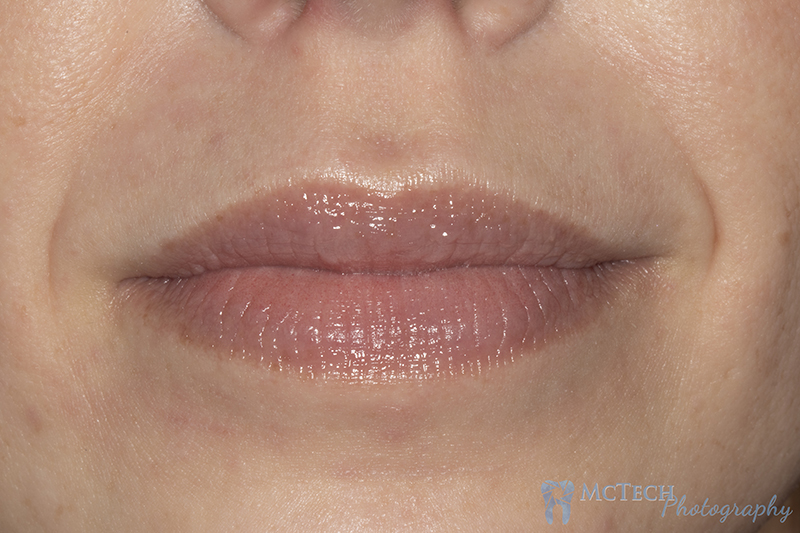
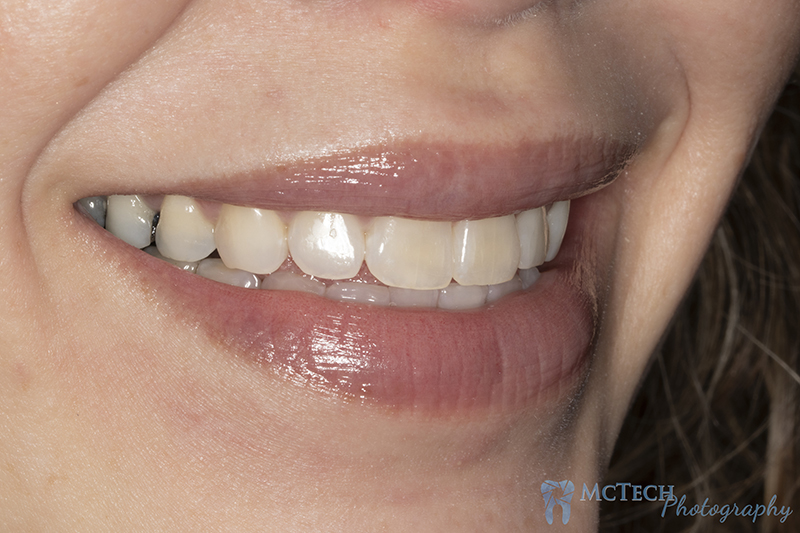
Portrait 1: 90° Left Profile / a.Not Smiling, b.Mouth in Repose, c.Full Smile
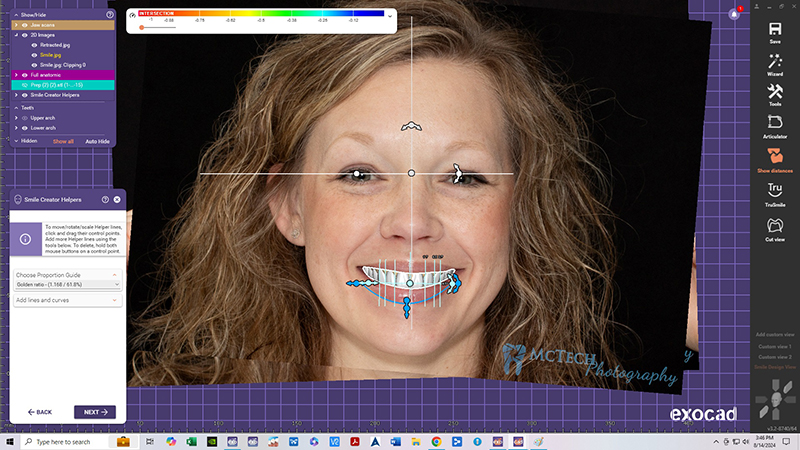
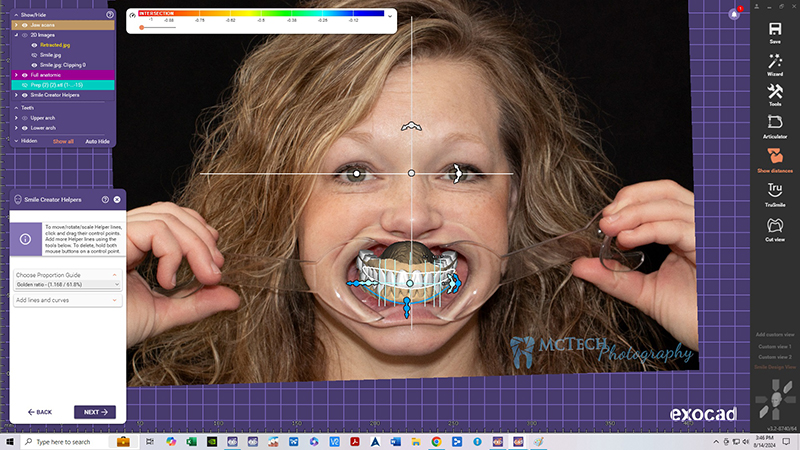
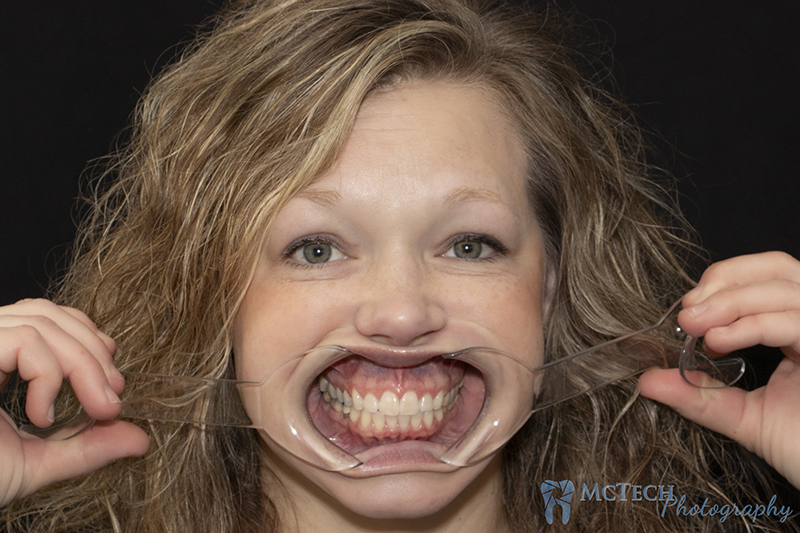
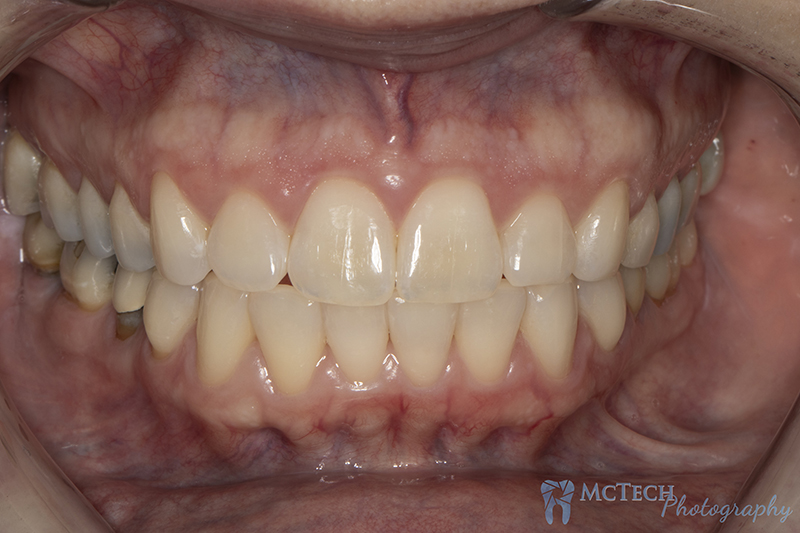
There are two shots in particular that allow us to communicate and collaborate utilizing our smile design CAD software in exocad. We import the images and superimpose first the original scans of the teeth and then the CAD designed wax up, over first the retracted photo then the smile shot. The software then has us draw the lip line and we can select the ratio of the teeth that best fits. All of the various curves and lines are available to us to freely manipulate and balance against the rest of the face. This assists in meeting goals of function and aesthetics for a case and and communicating our results and reasoning to rest of the restorative team.
Use the Same Equipment and settings used for Portrait shots but with two single sided retractors. Use a grey card and shoot in RAW if at all possible but high quality phone pictures may suffice
Technique and Instructions to the Patient
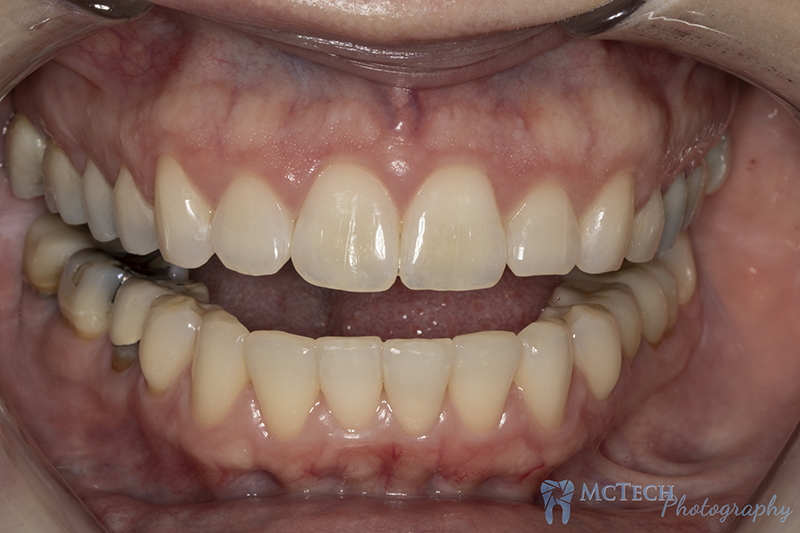
The photos taken for this purpose should be of high quality as possible. An important thing to accomplish between these photos is consistency. The two photos should betaken in quick succession, to eliminate as much difference in head tilt and camera angulation and distance as possible. Too much difference will render the photos unless for the purposes of the software. First, The camera should be fix on a tripod or surface. I recommend taking the retracted photo first. Have the patient hold two single sided retractors “pulling them toward the ears” and clenching their teeth together in Maximal Intercuspal Position (MIP). After taking this shot. Instruct them to quickly and without moving their head remove the retractors and smile broadly.
Single sided retractor, Self-Retracting Retractor, Black Contrastor, Occlusal Mirror & Buccal Mirror
Grey Card
Techniques Used for These Shots
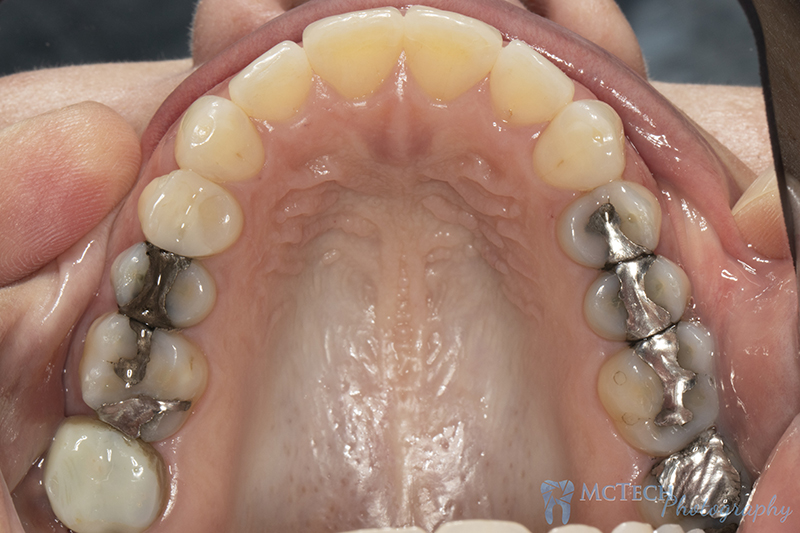
Place a sterilized Grey Card against the teeth, when using mirrors, place it against the mirrors.
Keep teeth hydrated! Take breaks, do what it takes, but do not let the teeth dry out. Dry teeth have a completely different color and surface and texture details are lost, distorted, or exaggerated.
When retractors are used, keep them out of the shot as best you can.
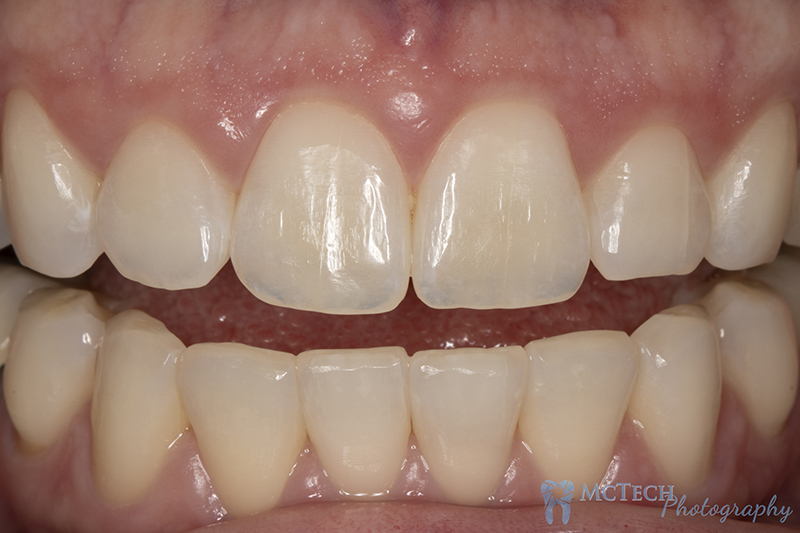
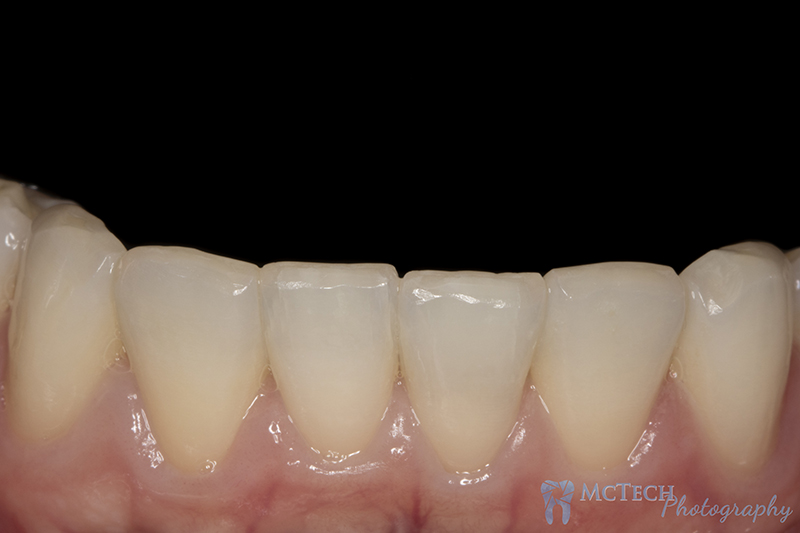
When taking a smiling photo, document the maximum number of teeth and gingiva the patient normally displays when laughing or broadly smiling.
Do not compensate for a midline discrepancy.
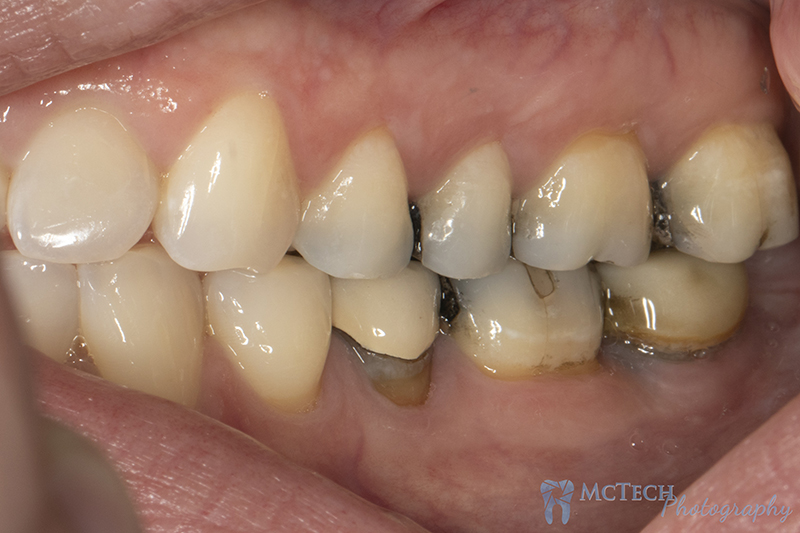
The image should be taken directly in front of and level with the patient. Avoid inferior or superior angulation with anterior teeth particularly, as details of the buccal contours can suffer. If the glare reflecting on the tooth in the image is only on the incisal edges, the shot was taken from an inferior angle. If the light glare on the tooth in the image is near the gum line the shot was taken from a superior angle.
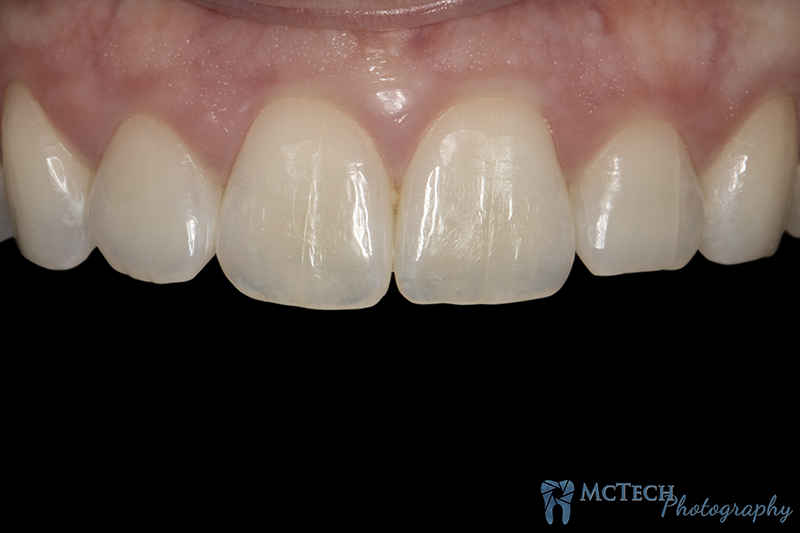
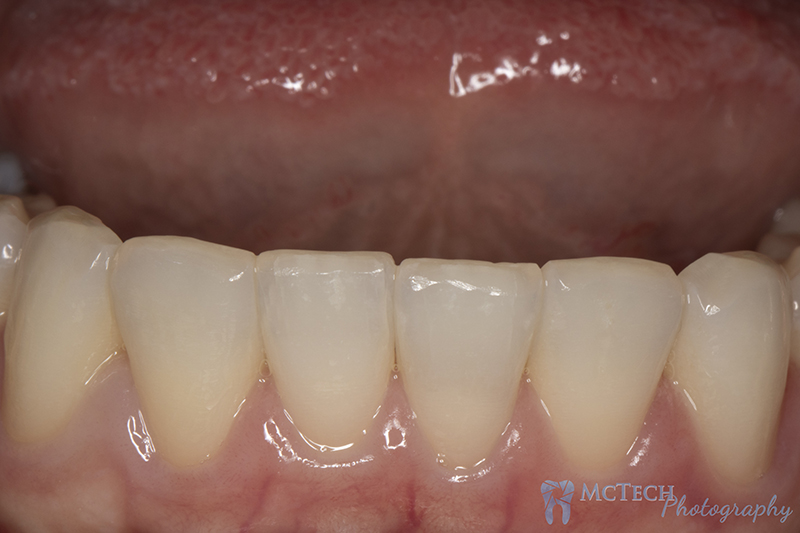
When capturing the aesthetic zone, bring front 6 into full frame. Within this zone, make sure the black contrastor takes up the entire background and eliminate the appearance of it’s edges. Eliminate the appearance of the retractors.
Warm the mirrors in a bowl of hot water to prevent fogging, if the patient is breathing through their nose and fogging persists, the mirrors are not warm enough. Instruct patient to breath through their nose
Instructions to the Patient
Instruct the patient to clean their teeth (brushing and flossing) and to avoid hard flossing or brushing that would inflame the tissue. Before every shot, eliminate debris and distractions such as surface sealants, excessive saliva, plaque, calculus, blood, food debris, makeup, glove powder, and lipstick on teeth.
When using mirrors, instruct patient to breath through their nose
INTRA ORAL SHOTS ARE TOUGH! Take breaks, work as a team, don’t rush, and soon, with practice, it will get easier.
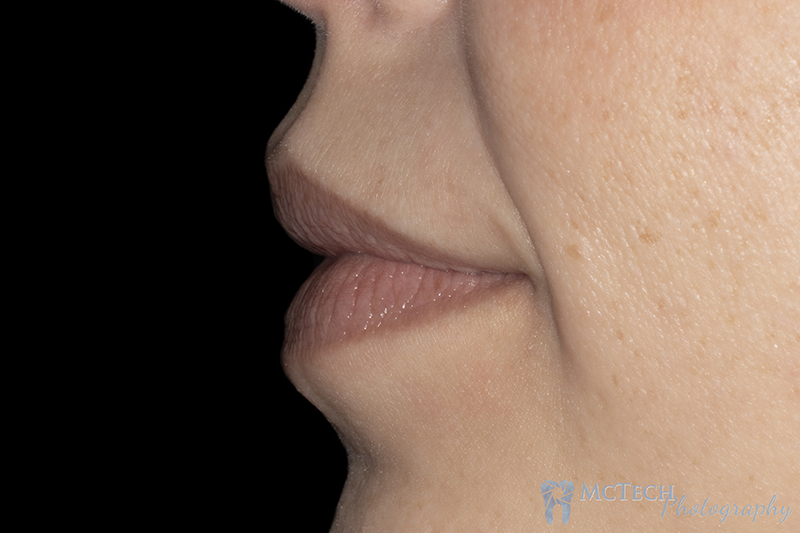
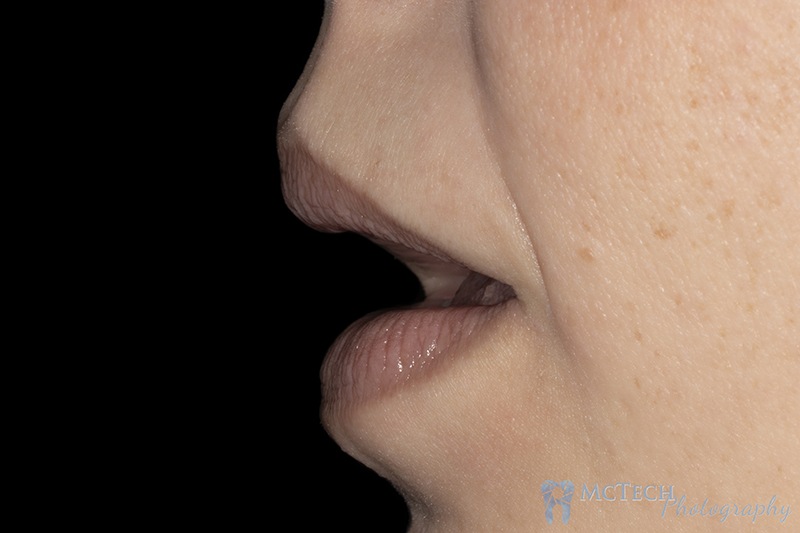
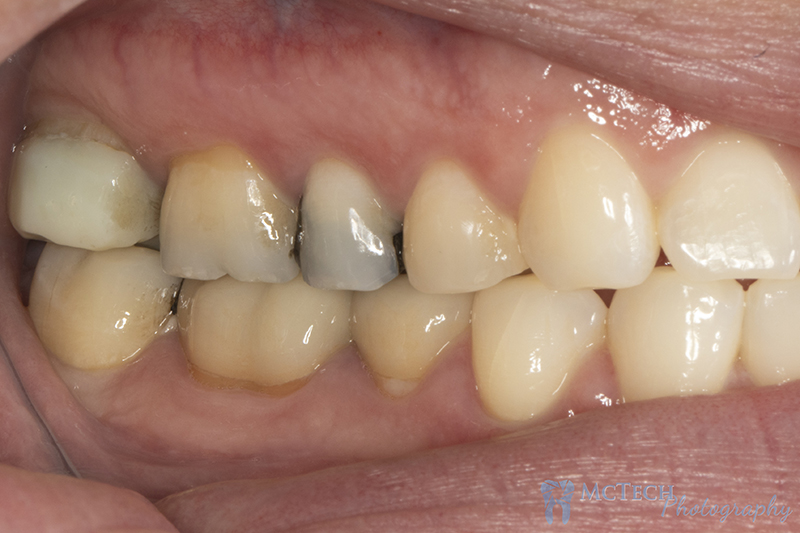
Mouth 1: 90° Left Profile / a.Not Smiling, b.Mouth in Repose, c.Full Smile
Use the Same Equipment and settings used for mouth and teeth shots. This includes the use of a grey card and shooting in RAW if at all possible.
Techniques Used for These Shots
Keep teeth hydrated! Take breaks, do what it takes, but do not let the teeth dry out. Dry teeth have a completely different color and surface and texture details are lost, distorted, or exaggerated.
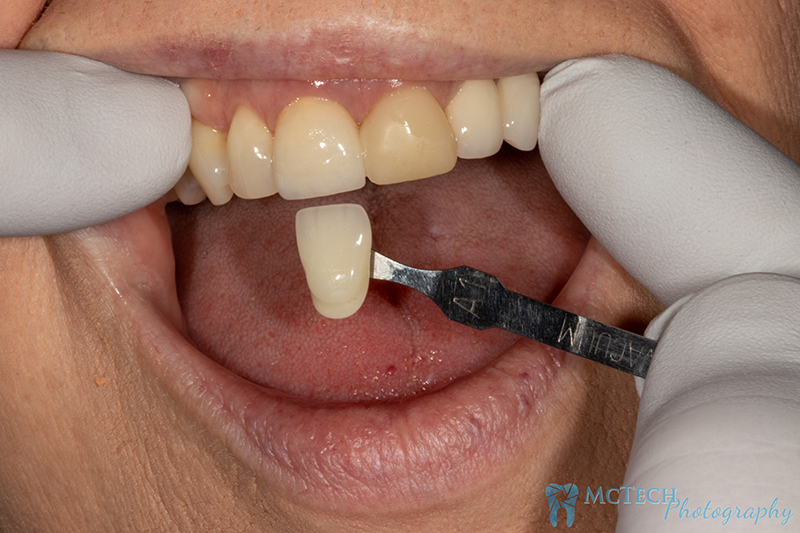
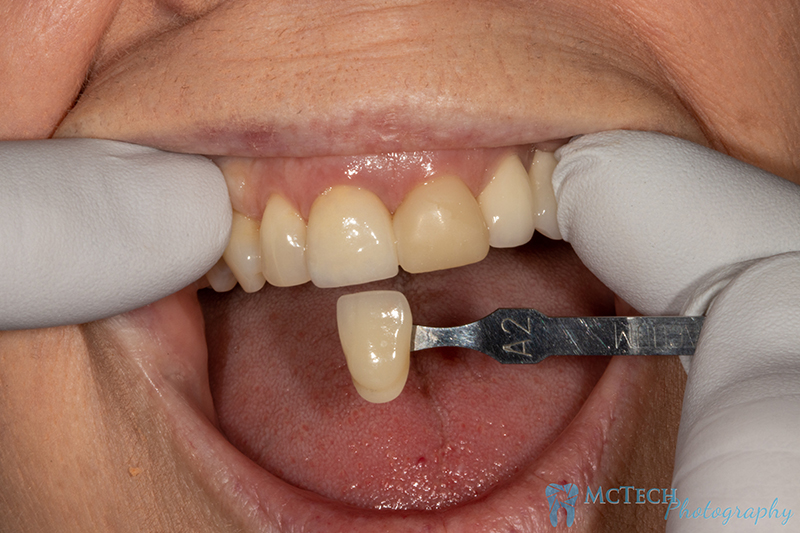
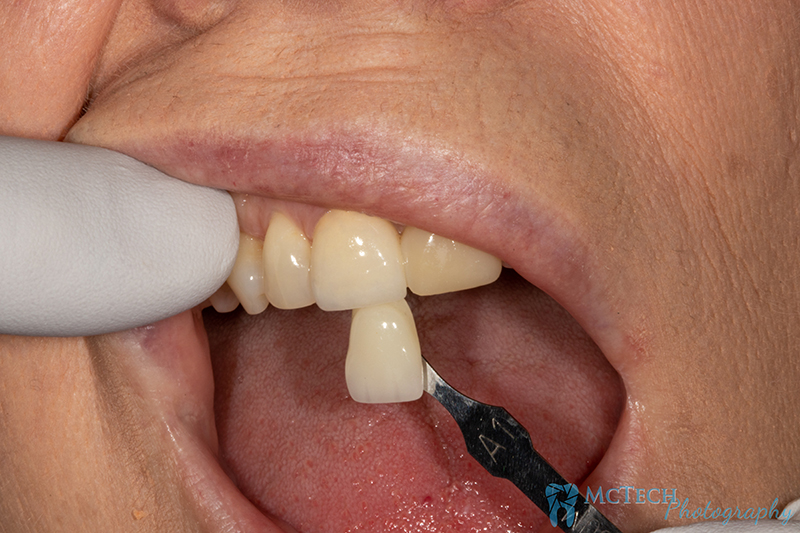
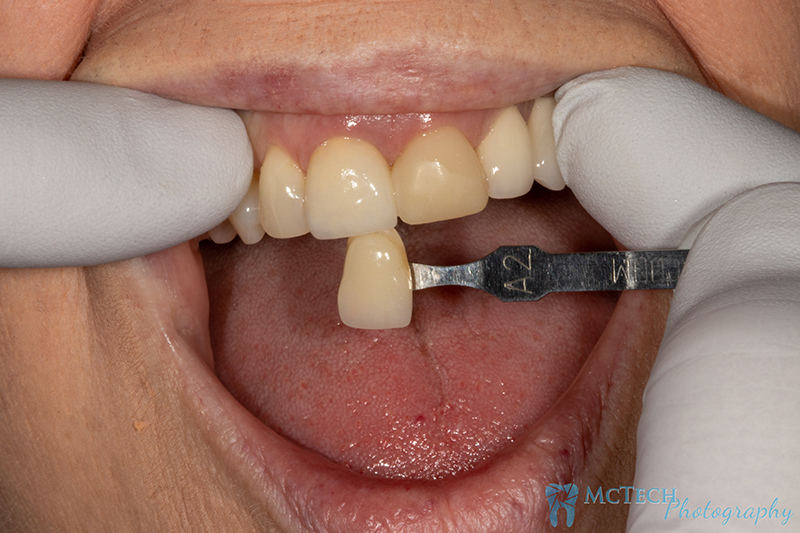
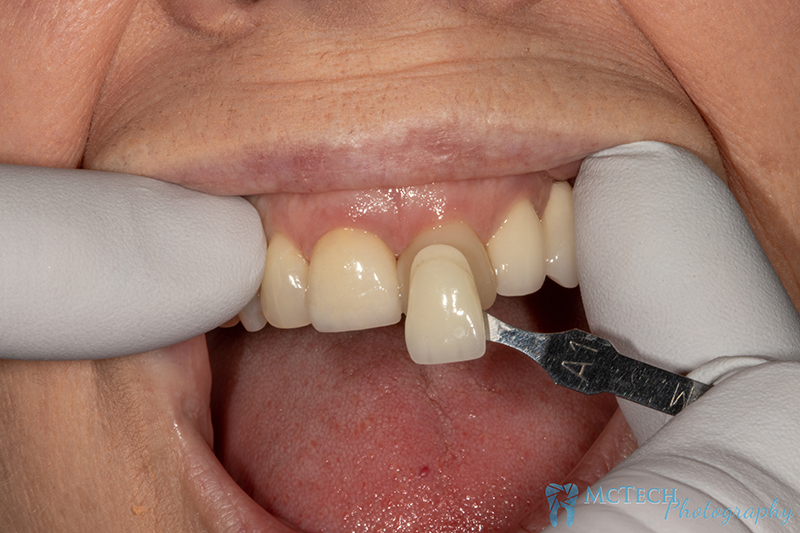
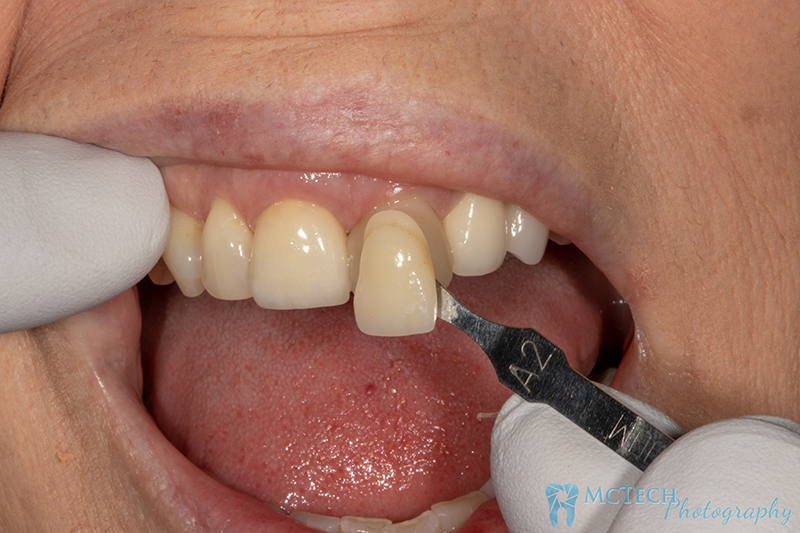
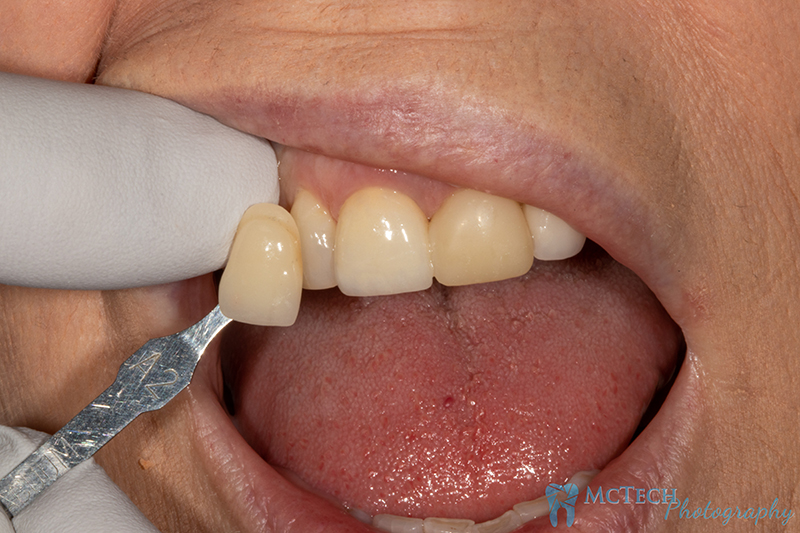
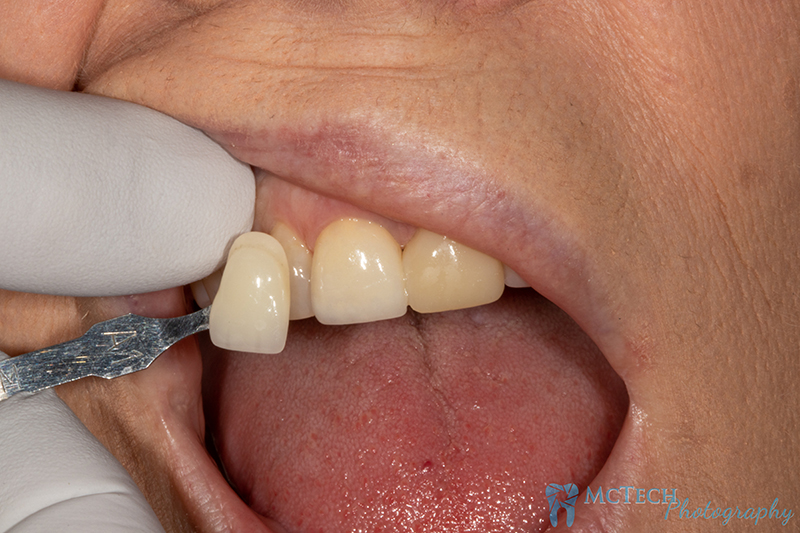
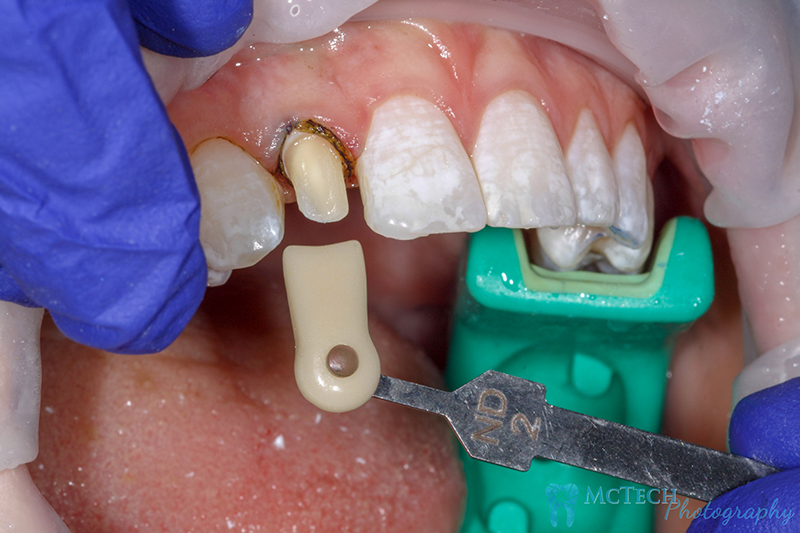
Pictures of shade tabs are for comparative use only. Always give the technician your opinion about the shade.
Capture the full mouth in the frame with every shot.
Ideally take shade photos with a reasonable time after cleaning appointment. We want to match the natural tooth, not the plaque. Allow for at least a day after a cleaning appointment before taking shade shots to allow tissue and enamel to recover and hydrate.
Instruct the patient to clean their teeth (brushing and flossing) and to avoid hard flossing or brushing that would inflame the tissue. Before every shot, eliminate debris and distractions such as excessive saliva, plaque, calculus, blood, food debris, makeup, glove powder, and lipstick on teeth ect.
Retract the patients lips to reveal the entire tooth to be matched. Use retractors, have the patient hold them, or if you prefer, used gloved fingers.
Make sure label on shade tab is visible
For end-to-end shots, leave a small space between incisal edges
The Surface of the shade tab should be angled to mimic the angle of the tooth to be matched. Avoid angulation problems that will affect the appearance of the incisal plane.
Keep tab surface flush with surface of the tooth be matched, not the temporary.
Classic Vita shade tabs are acceptable, Vita 3d shade tabs are preferred, for gingiva shots we prefer Ivoclar. For instructions to the proper use of the 3D shade tab system, check out our resources page on our website or click here.
If you choose to use a shade tab that we do not carry, please send the tab with the case.
Use as many Shade Tabs as you feel necessary. There are 4 shots to capture for every shade tab, make sure they are taken in relation to the tooth to be matched, not the tooth to be replaced, or the temporary.
Stump Shades: For multiple preps, match each prep. If a stump has more than one color, match all.