Collaborating Through Dental Photography: Part 2: Equipment
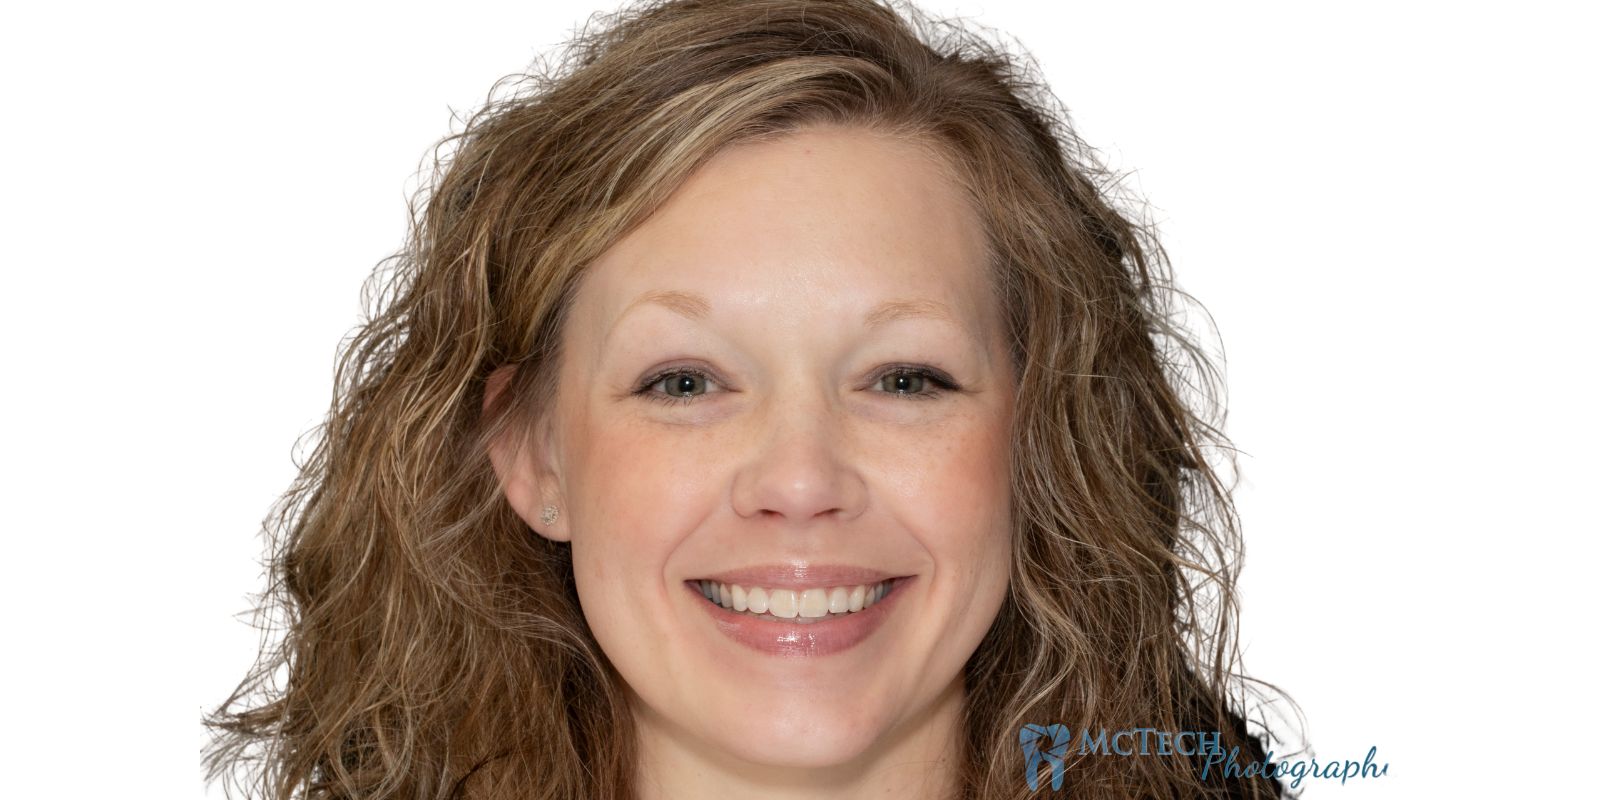
Special Thank you to Becky Cotant of Cotant Family Dentistry for her patience and grace in agreeing to model for this walkthrough.
Photography is a powerful tool to help overcome the problematic nature of restorative dentistry. To facilitate it’s use, I made it one of my mission to master this skill when I first arrived at McTech from college. Years later and I have authored this entire walkthrough and taken almost all photos myself. If you are a restorative team member of ours, such as a doctor, assistant, or other staff member, I am at your disposal to answer any questions you may have. If you would like to partner together on documenting a case please contact me, I am very interested!
The following will show you how I take the professional grade photography that is suitable for our purposes as a lab. Part of the goal of this walkthrough is to inform about basic photography fundamentals, and to lay the groundwork for a pursuit of composition. These photos require team effort, dedicated photography equipment, and yes there is a learning curve that requires practice to over overcome.
IMPORTANT!! This guide is not intended to be an all encompassing breakdown of dental photography. This is foremost a guide to how you can take the same kind of photos I do. The plan is to build from here as I learn more and more. What I’ve published here so far is just the basics. Do not let the complexity of this guide deter you from sending us or any other lab less than perfect photos. So… with that out of the way….
Environment
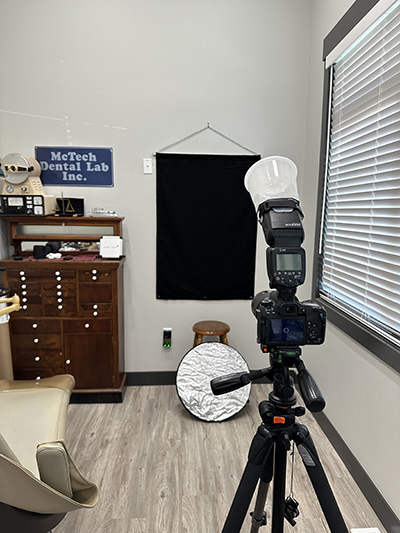
My first and most highly recommended piece of photography equipment is a dedicated space for photography. A practices photography space should account for this number one variable in photography, light. Portraits and intra oral photos both benefit from having the patient seated upright against a wall. Throughout this read I will continually mention the advantages of having this foremost recommendation covered.
Camera
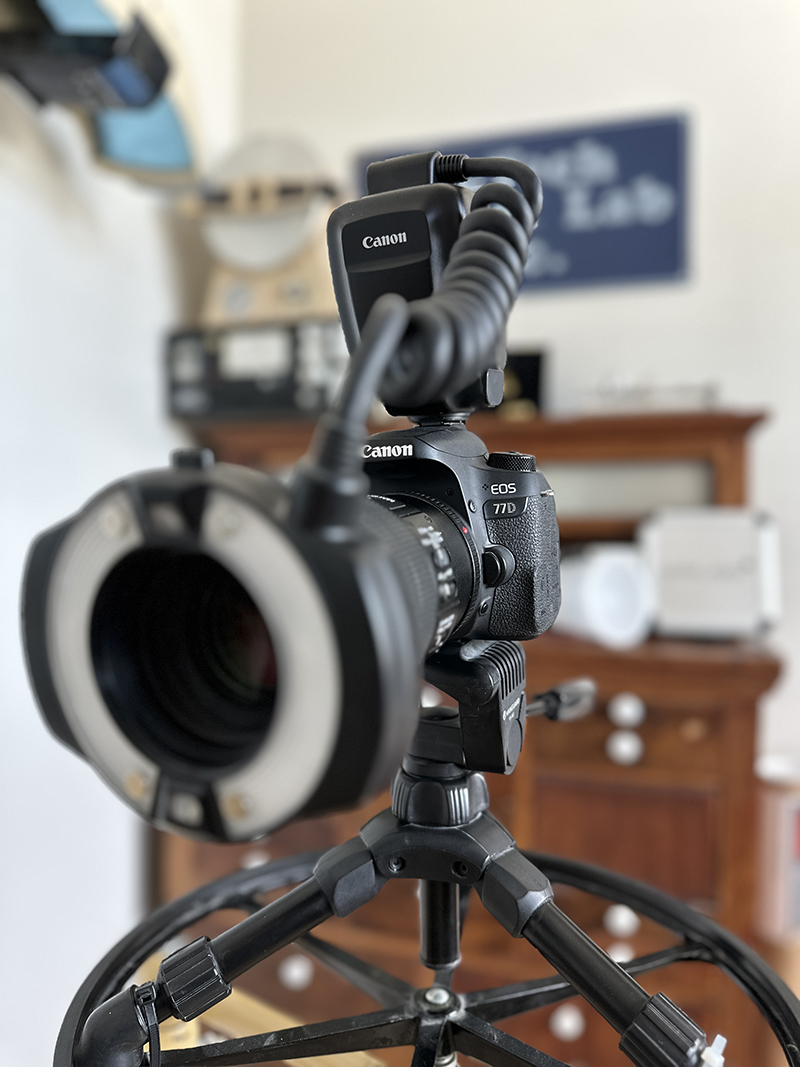 While it is true that mirrorless cameras in smaller formats such as on your phone are well on their way to doing much of what a DSLR camera can do, that is not the type of camera that I have the most experience taking professional grade photos with. For the purposes of this guide the assumption here is that you have a DSLR camera. As to the make and model of the camera, that matters far less than understanding the capabilities of your equipment. I will be using my cannon 77D as an example, but Nikon and most other DSLR brands have an equivalent capability.
Lense
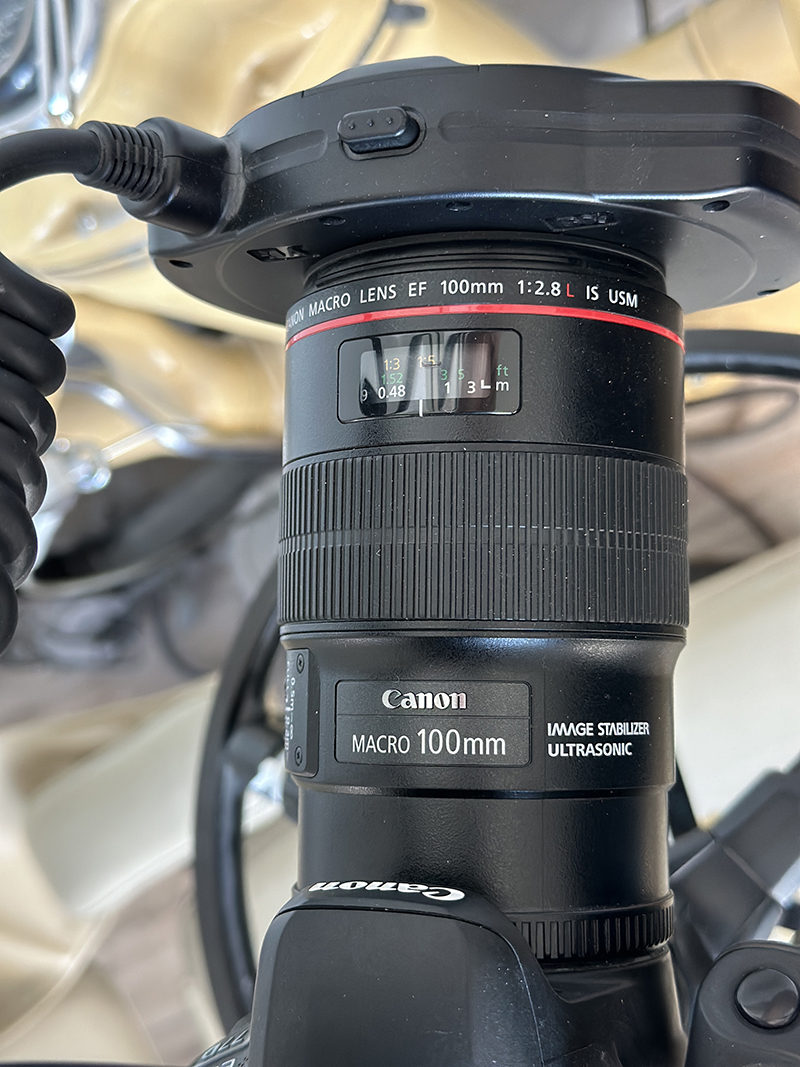 It could be argued that I use an unconventional lense setup because I use my macro lense for portraits. This setup comes with some strengths and weaknesses. First off, any professional photographer will agree that Macro lenses take great portraits, so nothing is lost there. The biggest advantage to my setup is that I’m never removing my lense from the body, eliminating the risk of dirt and debris getting into the more sensitive parts of the camera and lense. The draw backs is that I must have an abundance of space in which to take portraits. I stand almost 7 ft away from my subject and as you can imagine the output of my macro flash even at full blast is adequate only after post processing.
Flashes
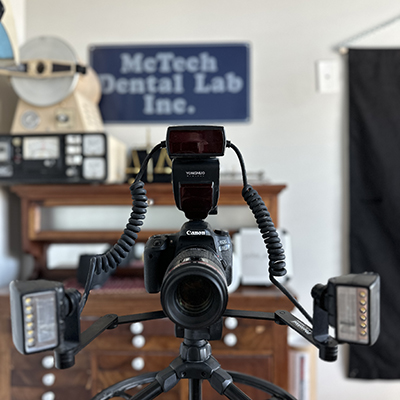
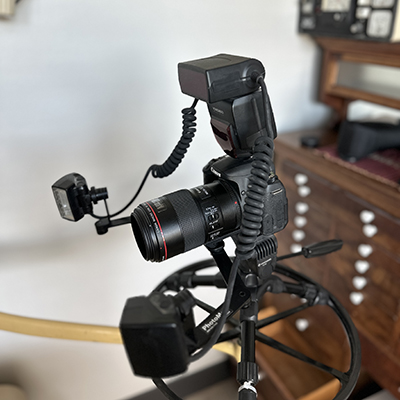
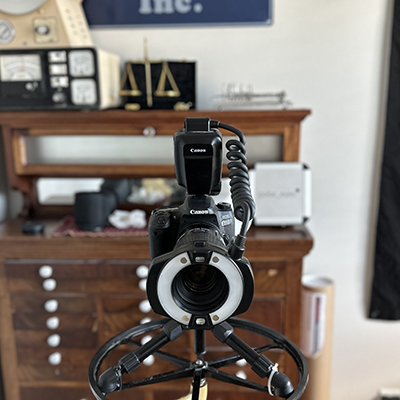
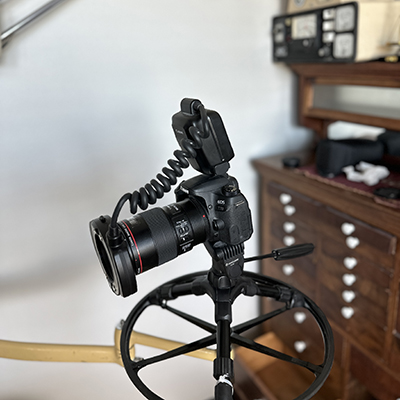
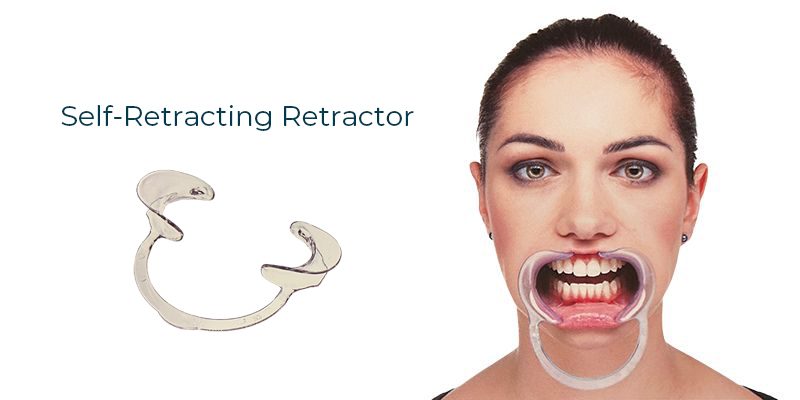
Photography is all about light. Because of this, the options for flashes and their accessories are nearly limitless, but for simplicity, I will discuss only what I have the most experience with. Without getting too creative, there are two main options for macro photography with a DSLR, a ring light or a dual flash.
One may prefer the ring light over the dual light for close-up extra and intra oral photography because it is easier to use, typically tighter in weight, and can produce more repeatable results. If your practice does not have a dedicated space for photos the operatory chair can often be cramped, the ring flash is more suited for this environment. One may prefer the dual light because it can capture nuanced details of surface texture on the facial portion of anterior teeth and can lend to more creative photography beyond communicating with the lab. However it can more often lead to inconsistent and varied results and can be a problem especially when it comes to the before and afters. The varied results mostly stem from the angle of each flash and can be mitigated with a fixed bracket provided it places the flashes at exactly 45º oblique angles and is suitable for the macro lense.
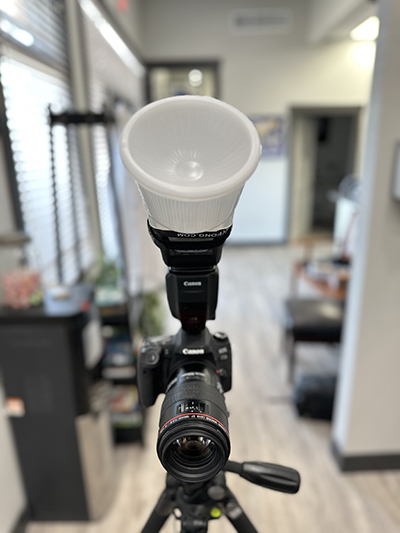
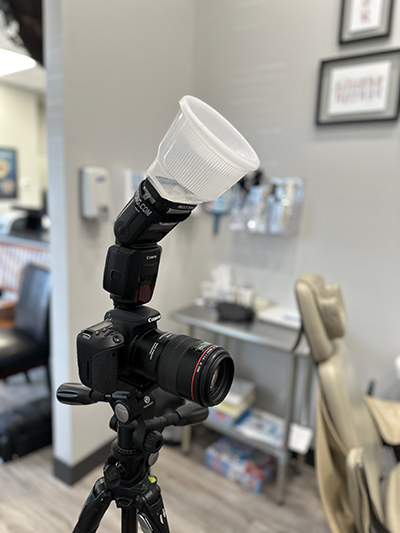
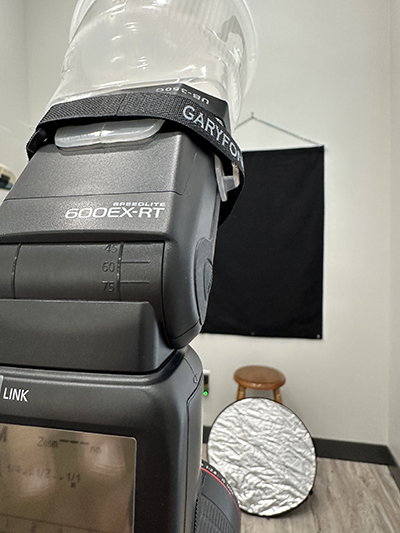
Even more so than with macro photography, for portraits the options for flashes and their accessories are nearly limitless. The flash I use is the 600EX-RT. I would recommend a flash with this level of output as a minimum. If you have a large enough dedicated space, by all means, buy the full wall back drop with two or three studio flashes with soft boxes and umbrellas. All this equipment really is fun to use and can make a noticeable difference. But I can achieve very professional results with a single horse shoe flash mounted directly to my camera, along with a fog style diffuser. I always use a tripod and angle the flash 45 degrees. Because I use my macro lense for portraits I must stand far away from my subject. To get all the light I can, I take the cap off the top of fog diffuser.
Background: White and Black
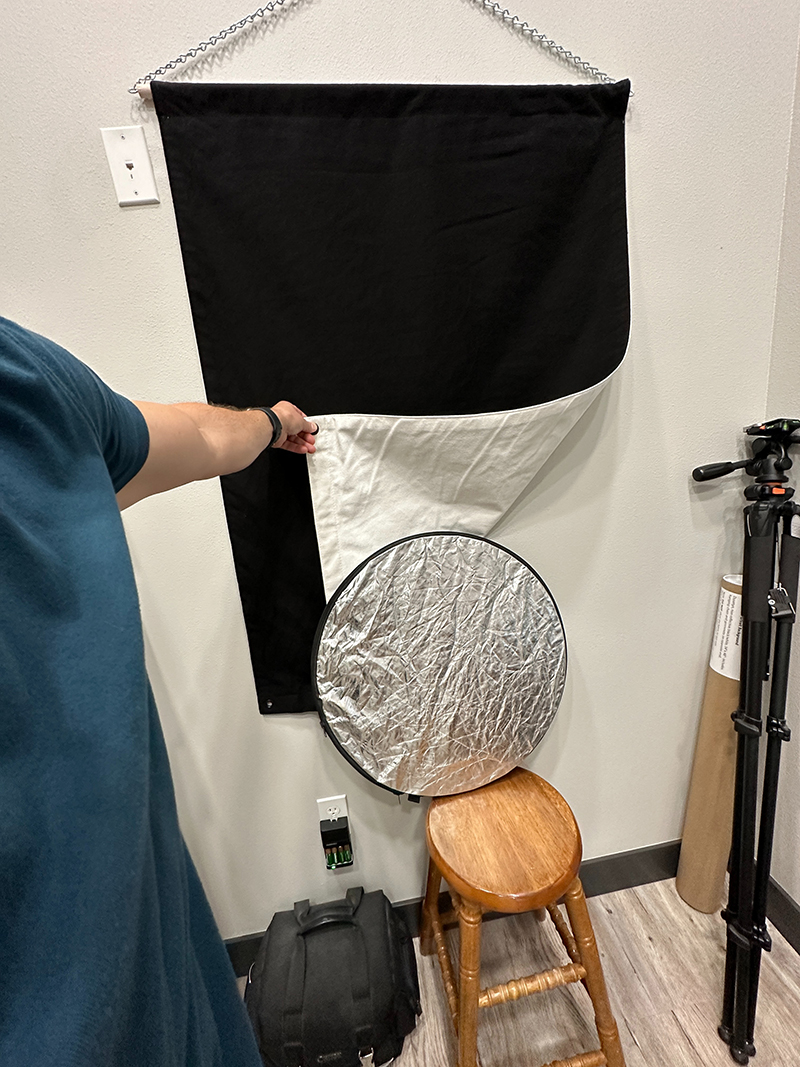 It is important to get a background that is uniform. White backgrounds are often preferred in dental photography due to their neutral and calming affect. AACD standards also require a neutral white background. Personally, I prefer a black background because the contrast is appealing to and because black is far easier to mask shadows in post. In order to create lighting that won’t produce shadows directly behind the patient I would need more light bouncers and soft boxes. I find the black background more suited to my environment for now. What is recommended is that when purchasing a background, have both options available.
Tissue Box Technique
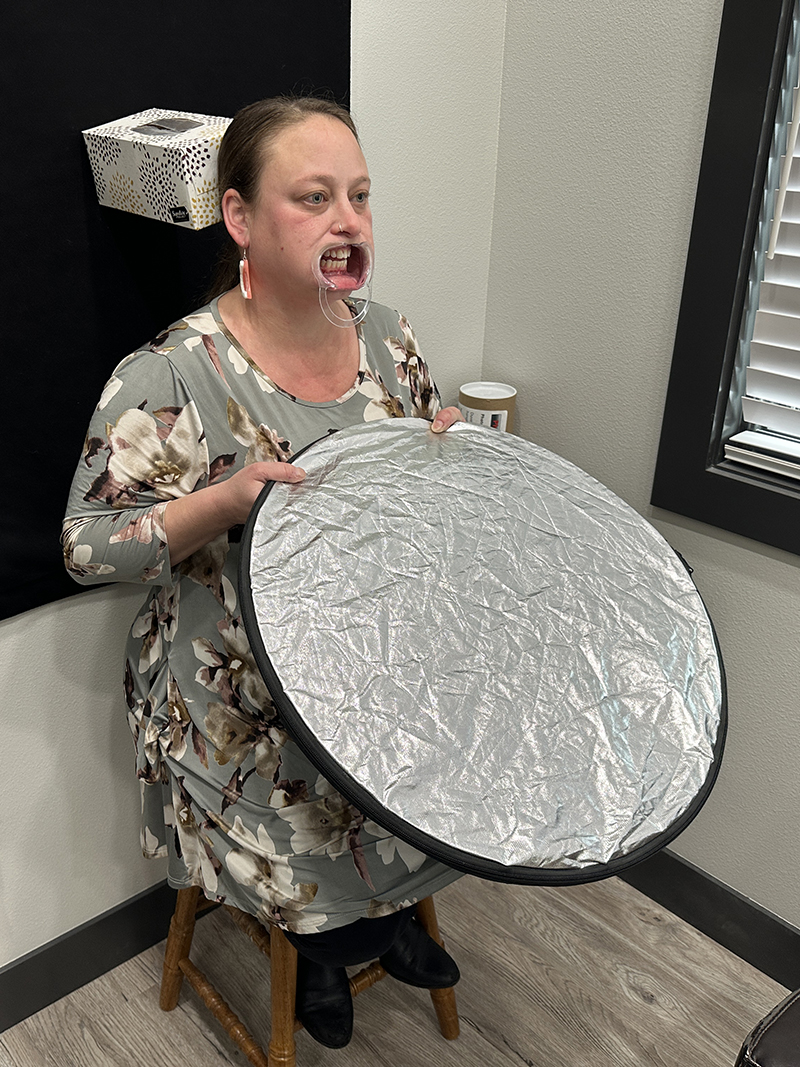
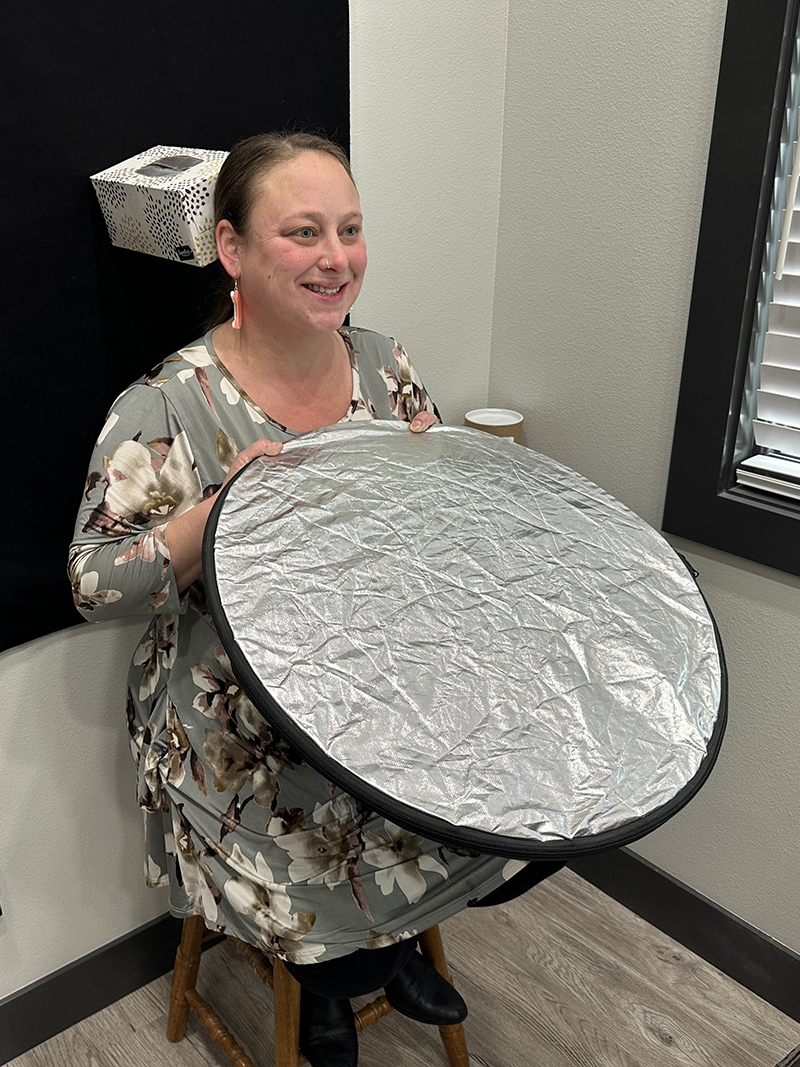
Photographic Reflector (light bouncer)


Please login to publish a comment.
Comments (0)